The great photographer Ansel Adams once said, “You don’t take a photograph, you make it.”
Whether you’re on a hike, vacation, or casually exploring the world around you, most likely you’ll want to document your journeys with photographs. The key to improving those images doesn’t necessarily come with an expensive camera or fancy equipment. The primary factor is YOU, and how you compose those shots.
With today’s improvements in digital photography, stunning landscape photos can be accomplished with just a smartphone. It all depends on ensuring a pleasing composition, which entails the methods you decide to use in order to control the movement of the viewer’s eyes within the photograph.
Here are my top tips for improving your landscape images.
Use the Rule of Thirds

This basic “rule” of photography will allow you to create more eye-catching photos. Imagine dividing your landscape into two equally spaced vertical lines, and two equally spaced horizontal lines—as in a tic-tac-toe diagram. Compose the most important element—whether it is a mountain, a person, the sun, etc.—on one of the four points where the lines intersect. The result is that your photo will be much more balanced and pleasing to the eye.
In addition, try placing the horizon of a landscape on one of the two horizontal lines, instead of being centered in the photo. If the sky is dramatic, place the horizon on the lower line (revealing more sky). If the foreground is more interesting, compose the horizon on the upper line.
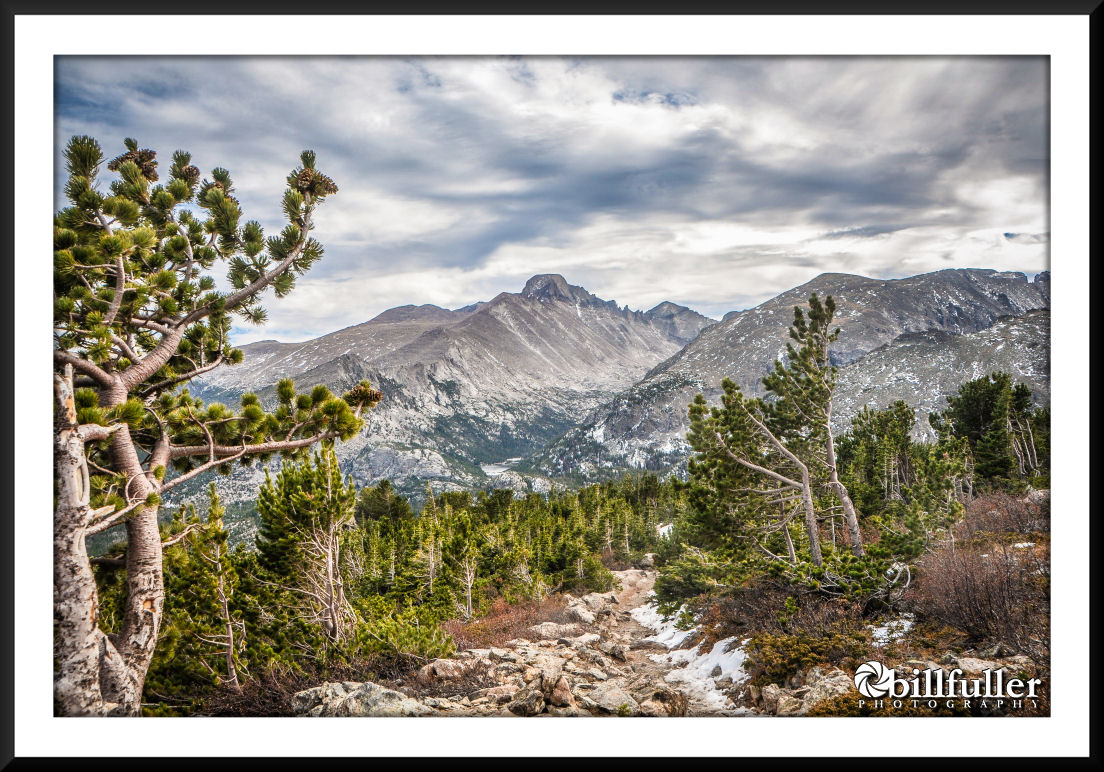
Create Depth
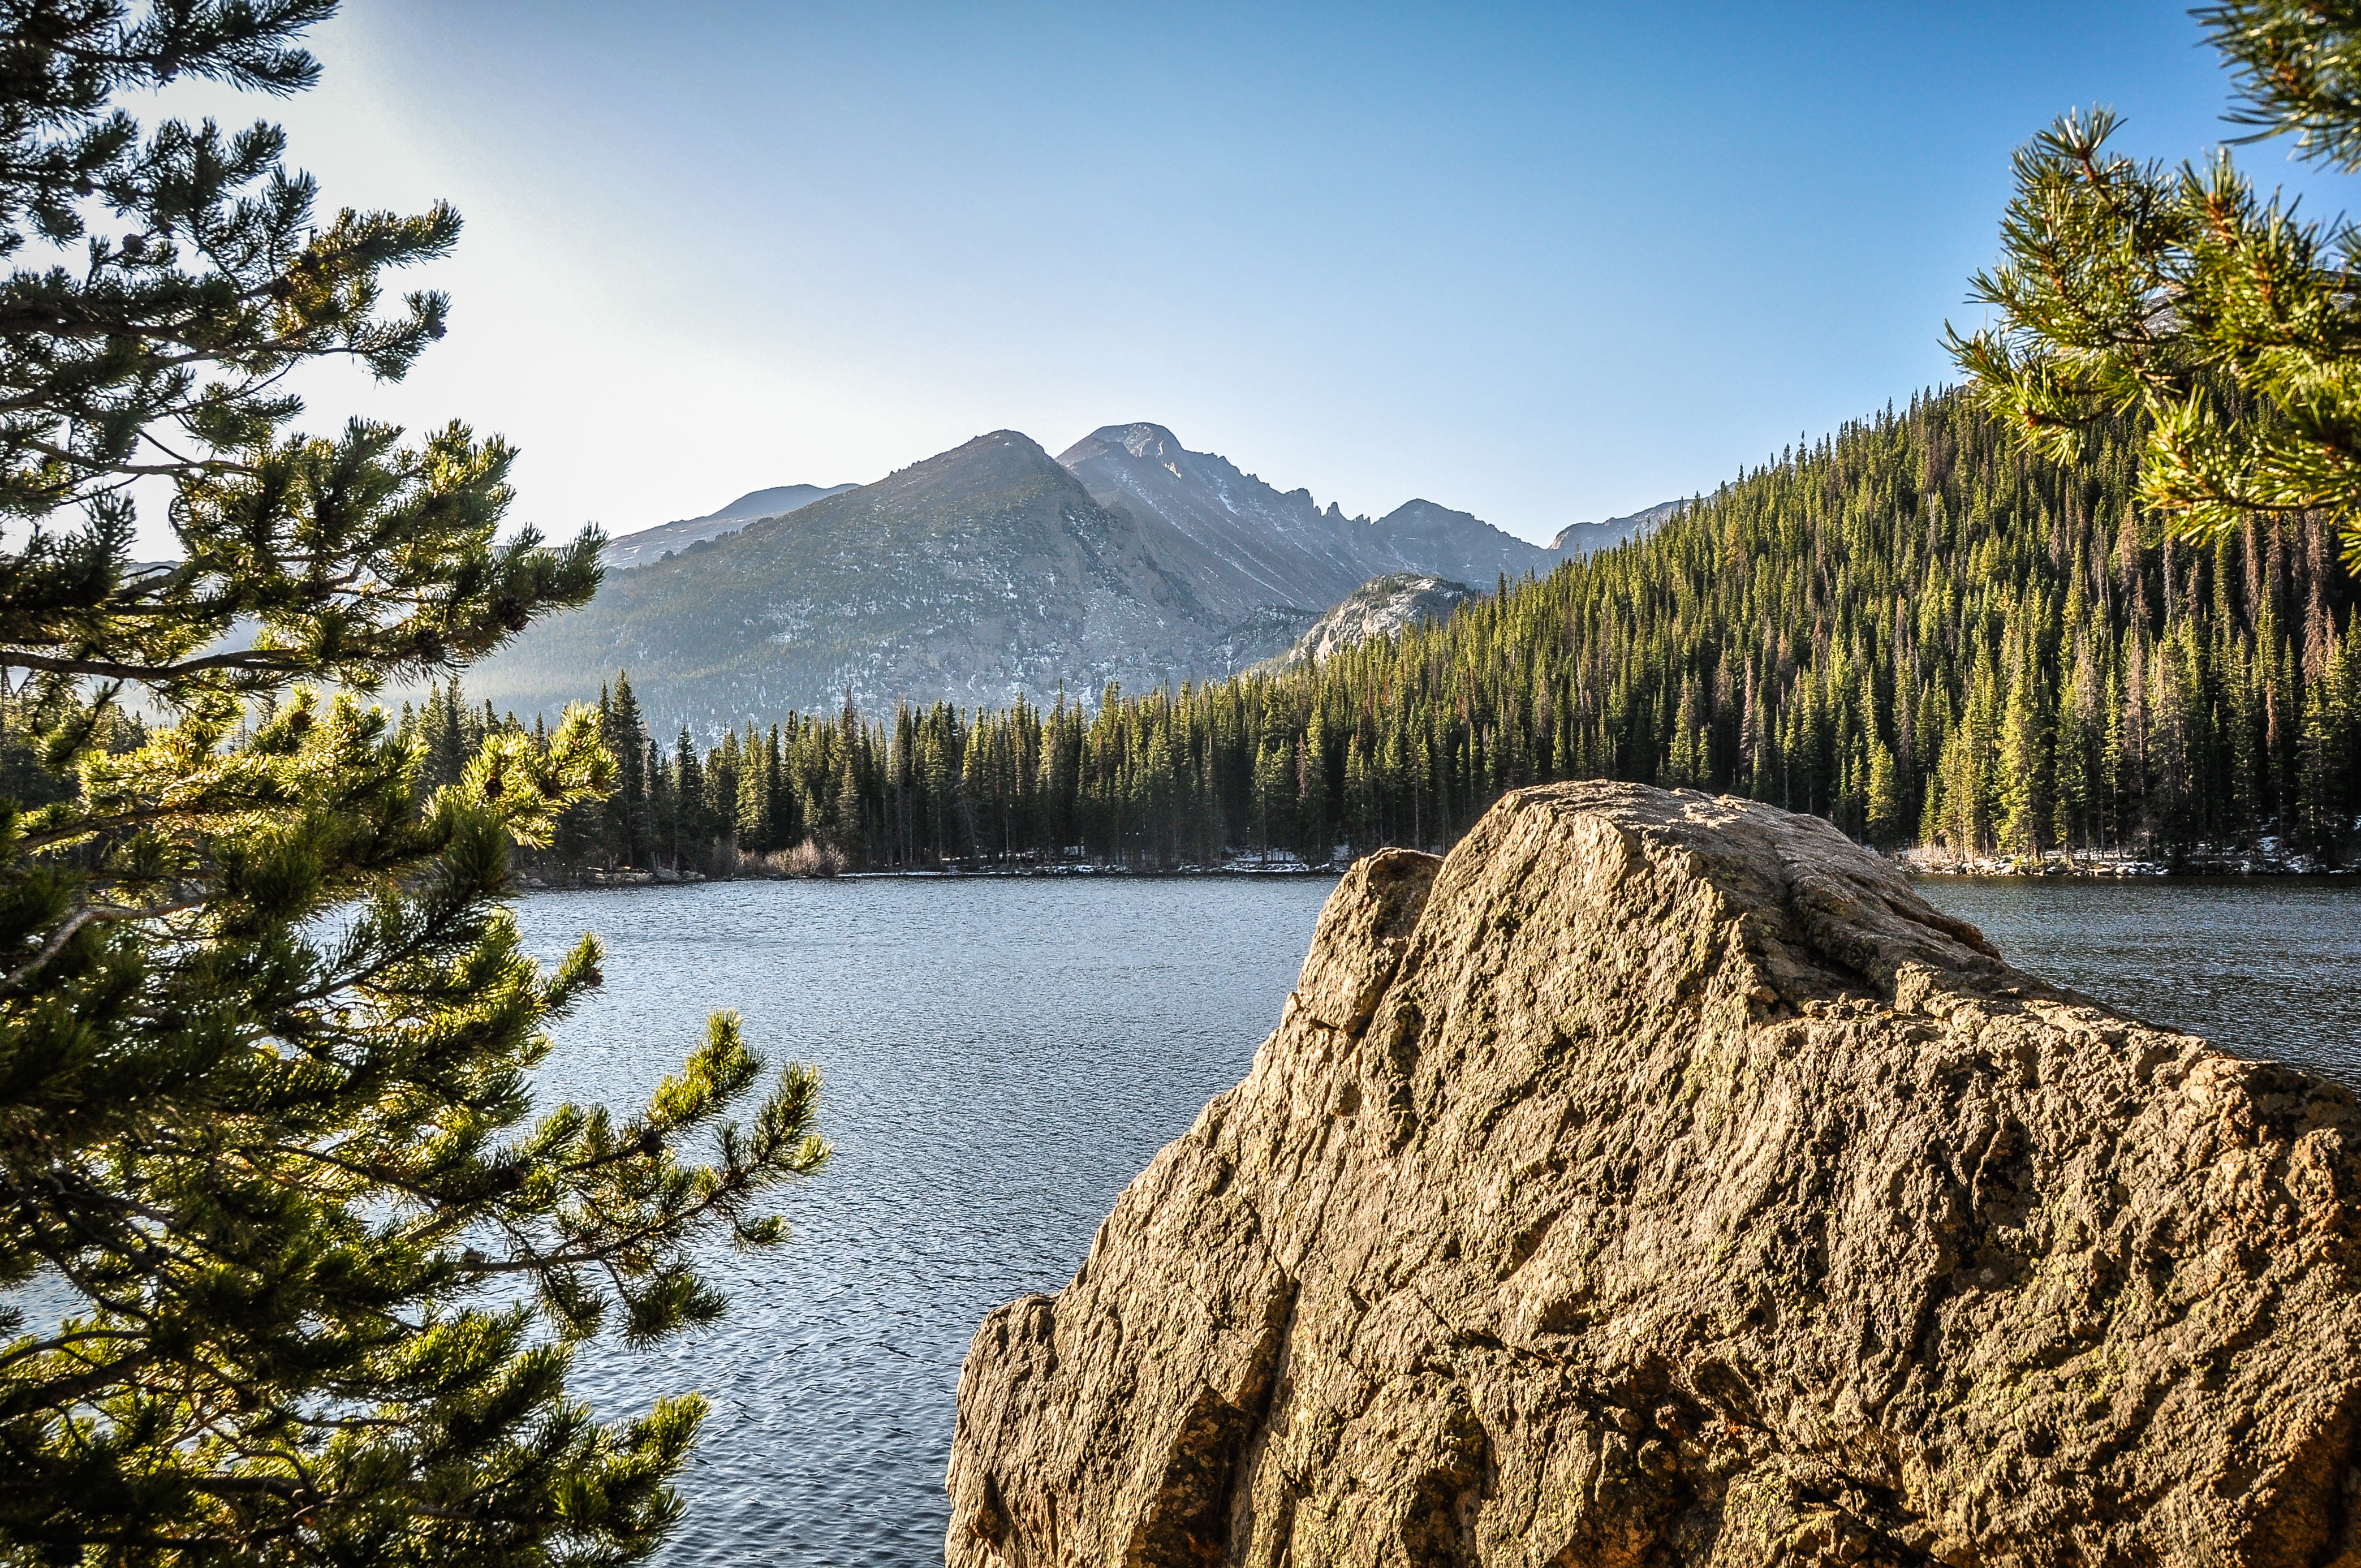
To add a three-dimensional aspect to your photo you will need to create depth. A good technique is to seek out items in the foreground to enhance your shot. If you are taking an image of a distant mountain, things like rocks, trees and flowers in the foreground will give perspective. To accomplish this, don’t always shoot at eye level. Get down low to include those interesting elements into your photo.
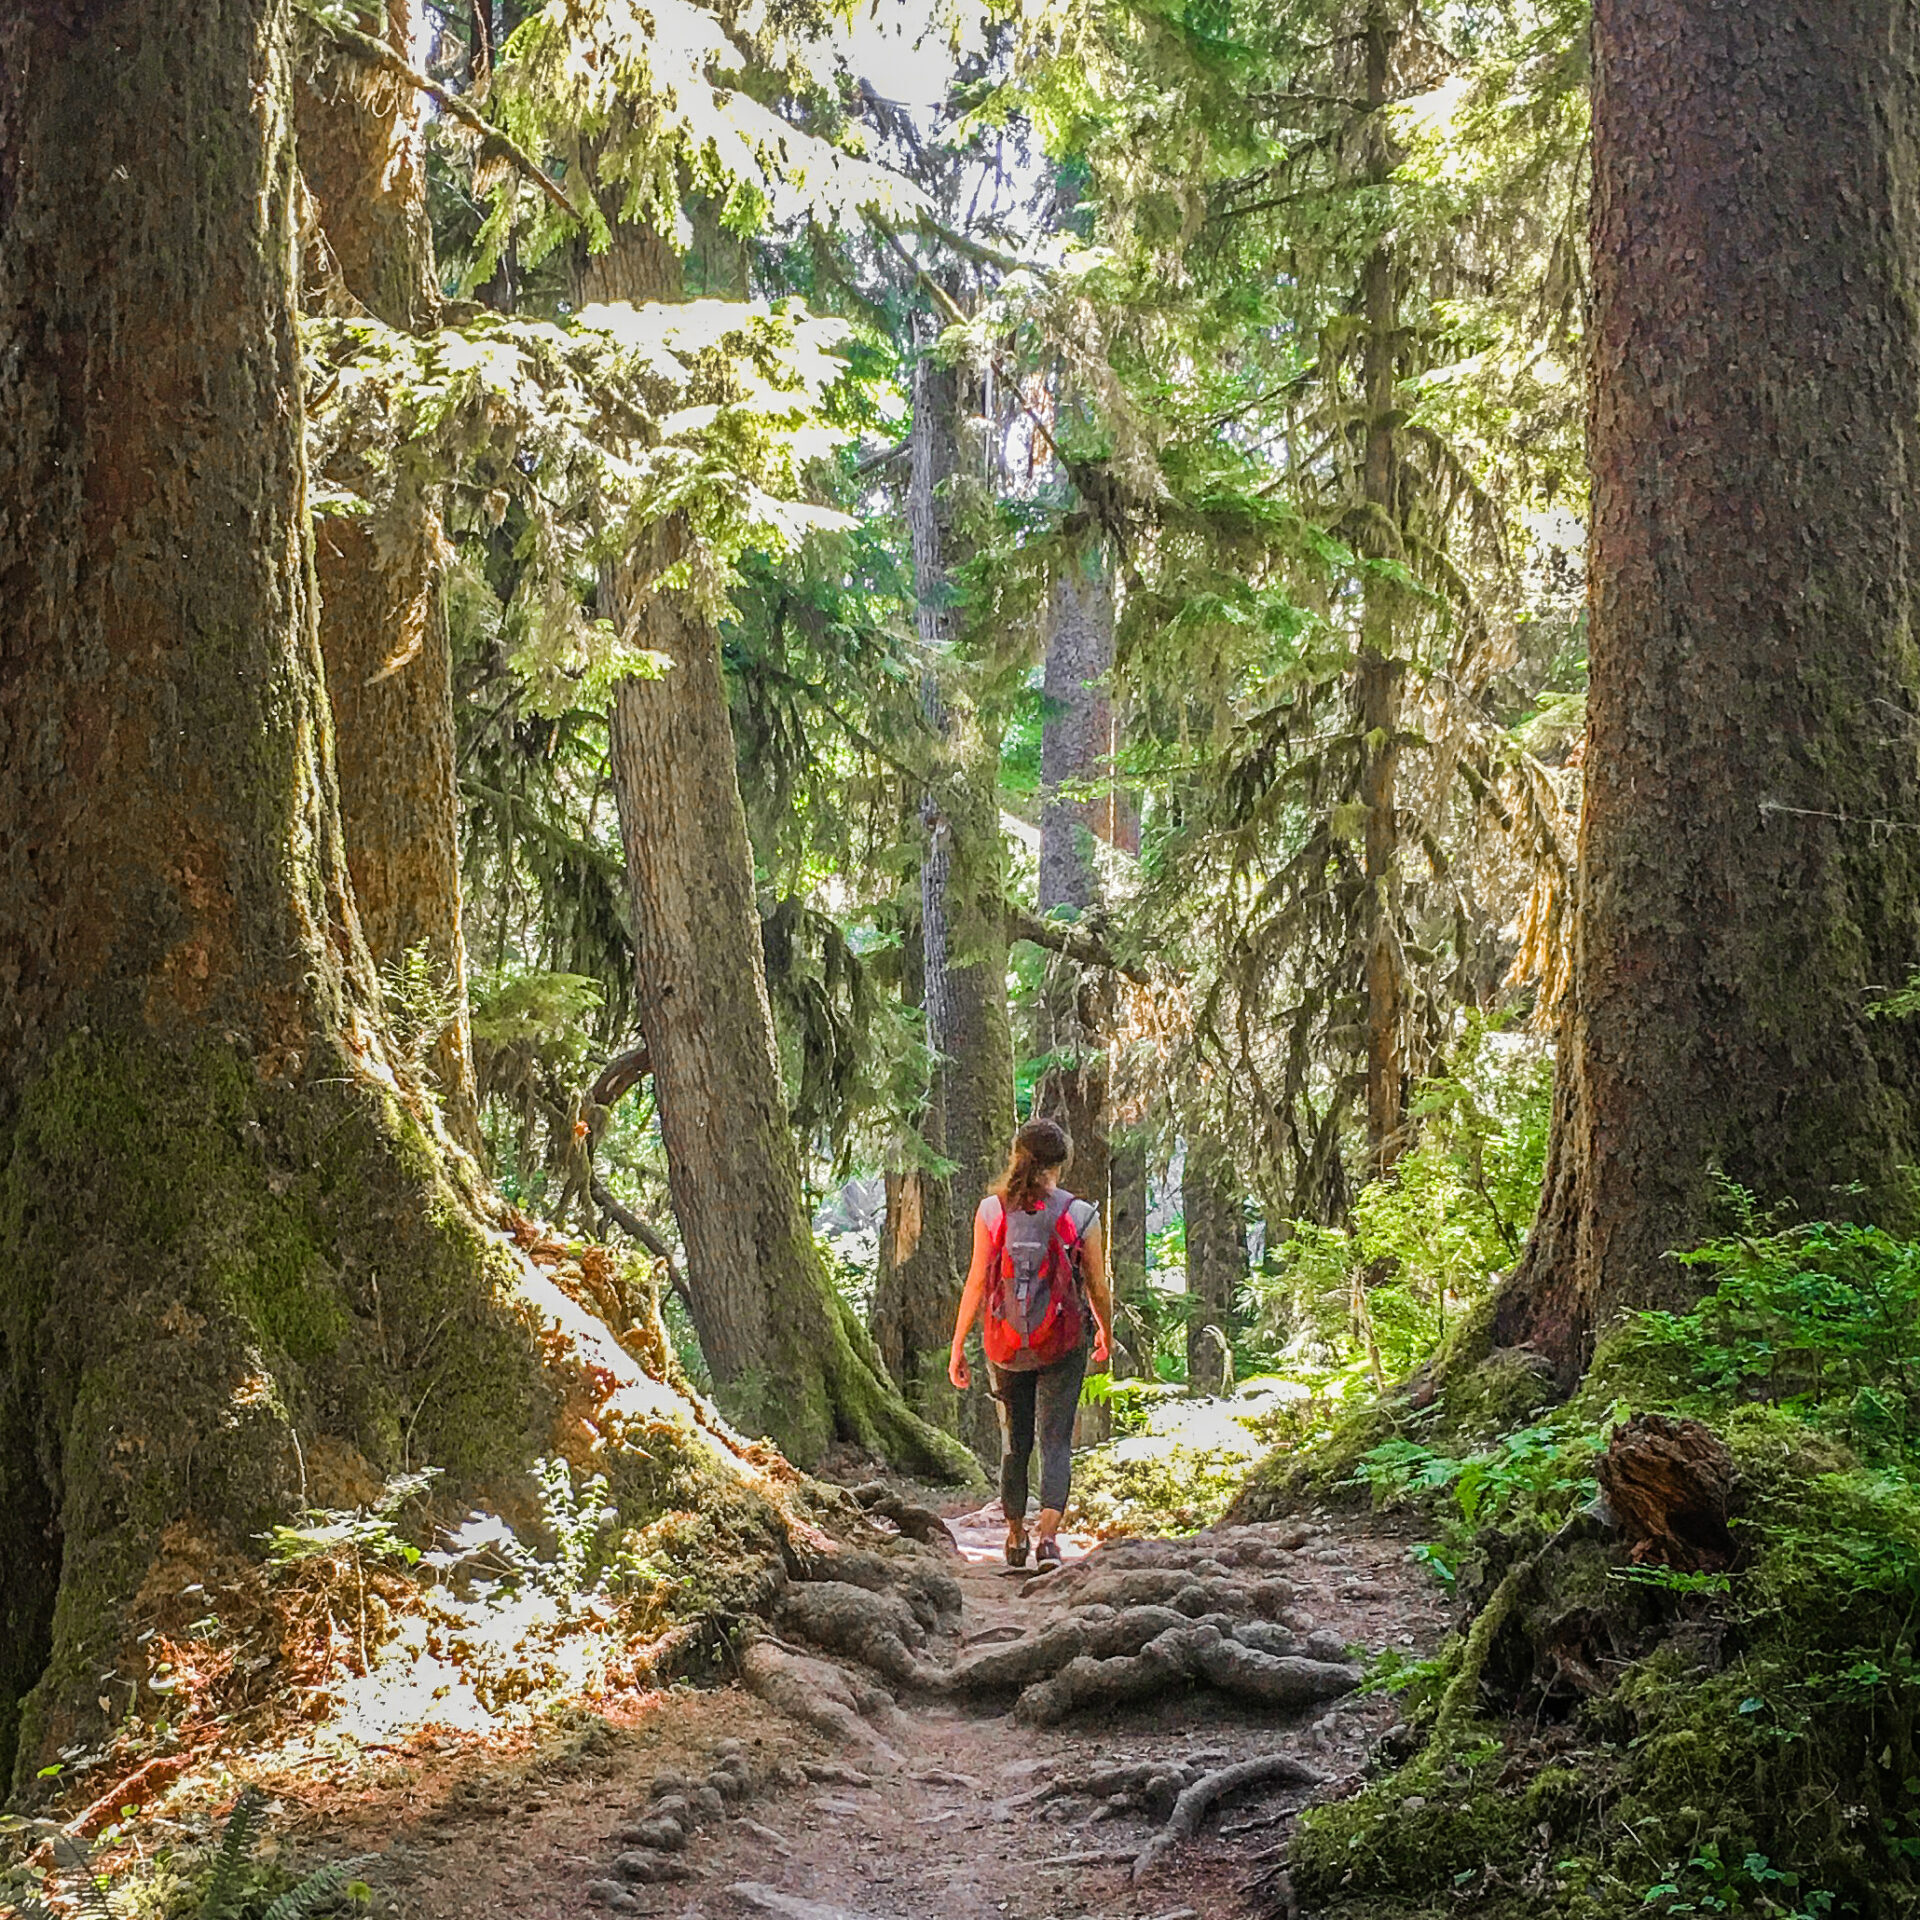
Use Leading Lines and Diagonal Lines

Our eyes naturally follow linear images. Find lines to compose into your shot, and it will draw your viewer deeper into the photograph. You can also use them to point to the most important element of the shot. These lines may be either straight or curved such as paths, fences, streams, bridges, shorelines, railroad tracks, and even features such as trees and striations in rocks. Once you start to look for these lines, you’ll see them everywhere. Incorporate them into your shots, and if at all possible, have them lead toward your main subject or converge to a vanishing point.
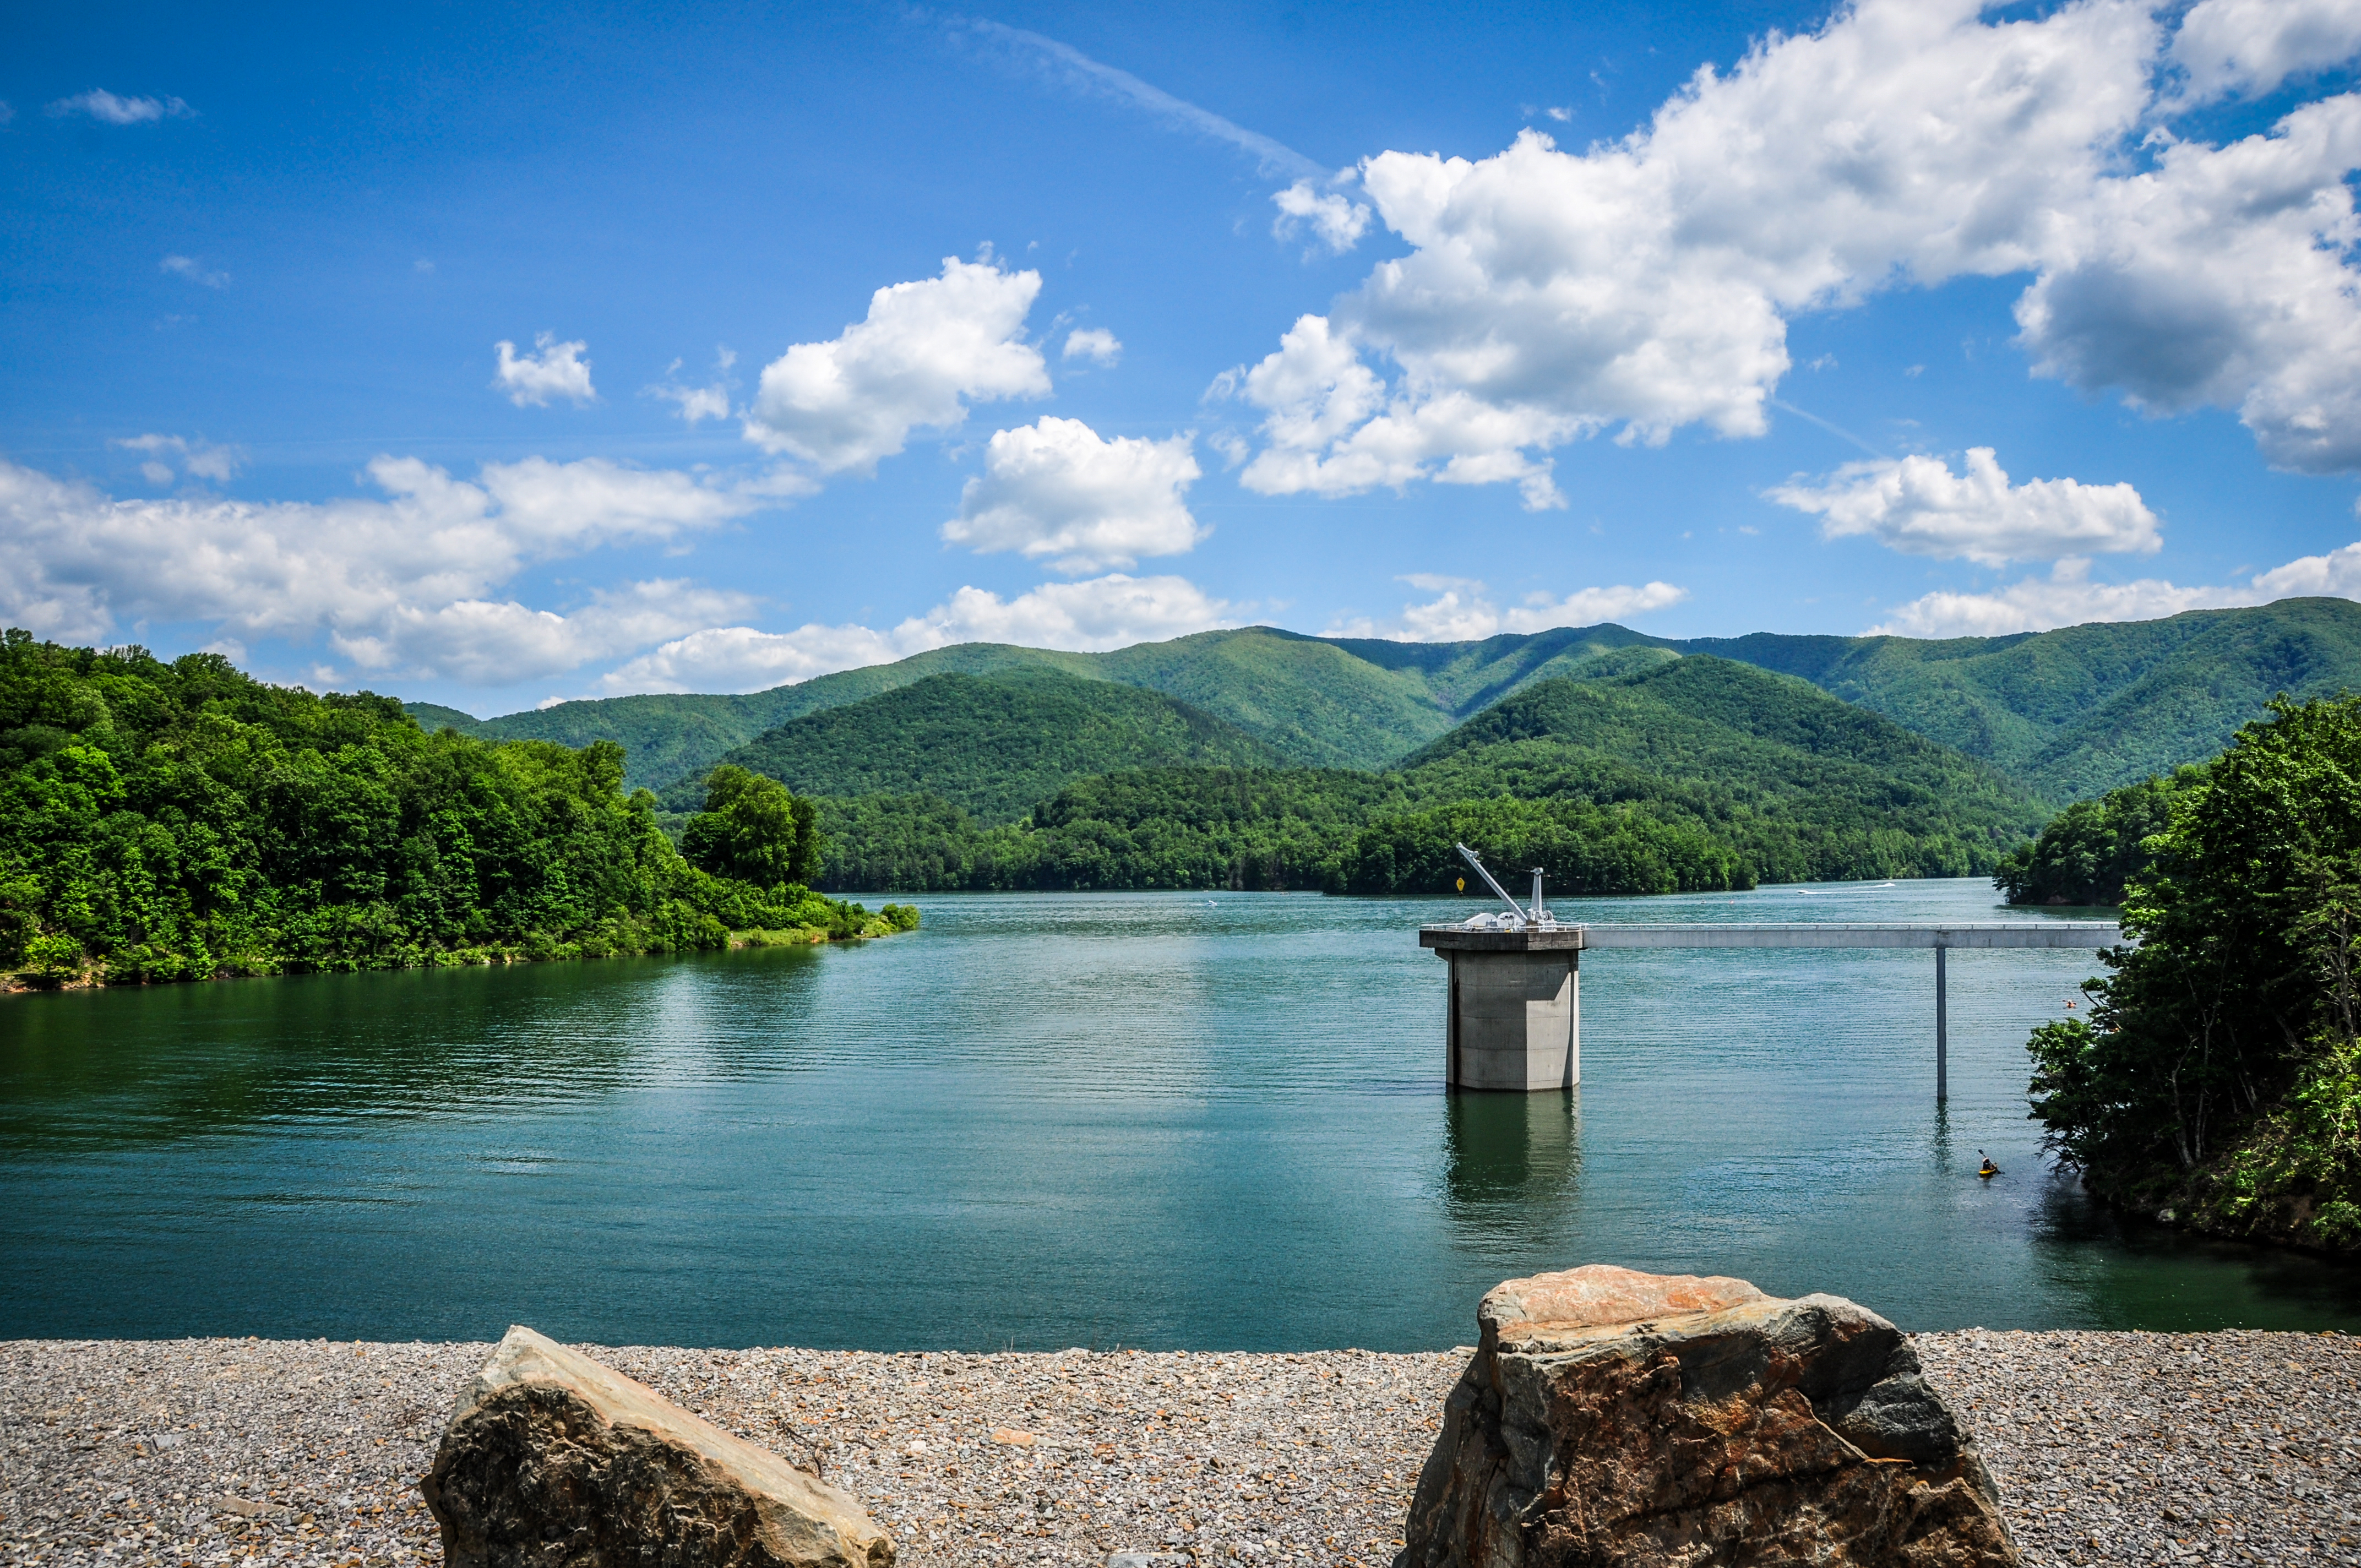
Look for Symmetry

Symmetrical images are very pleasing to the eye. This is sometimes hard to find in a landscape, but they do exist from time to time. When composing a symmetrical shot it usually means breaking the “Rule of Thirds,” and placing your subject in the center of the scene. Some of my favorite images of this type were taken as seascapes utilizing piers, or other man-made structures such as lookout towers.
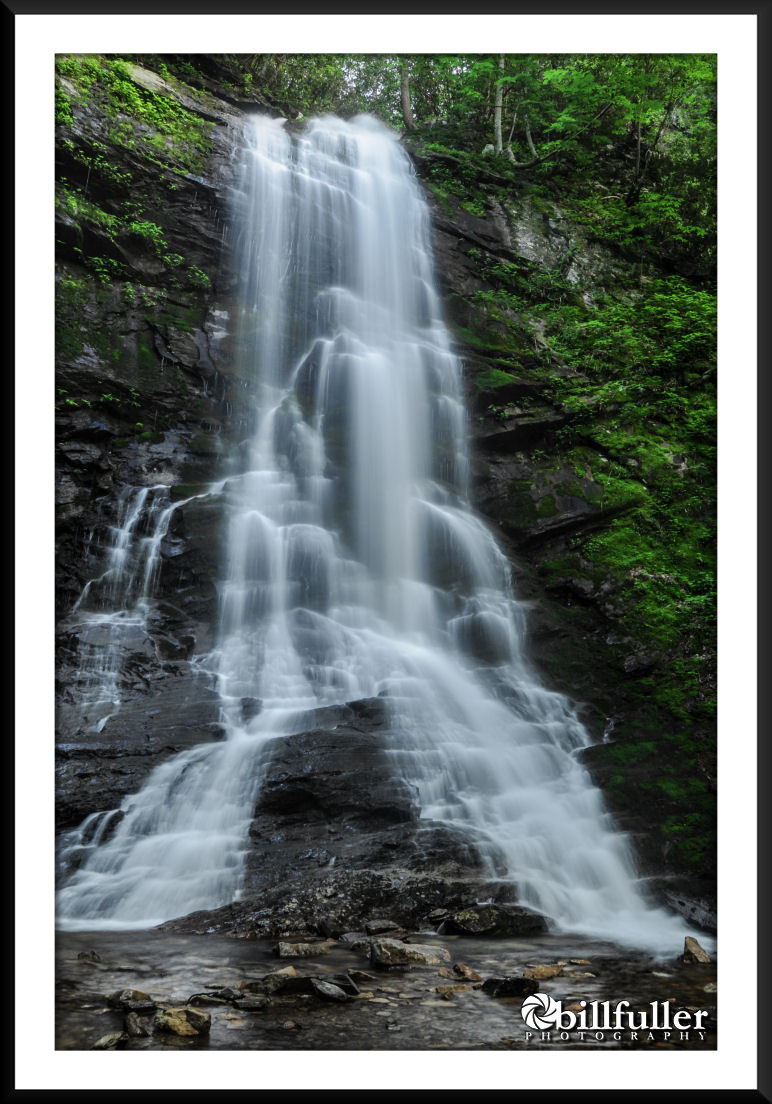
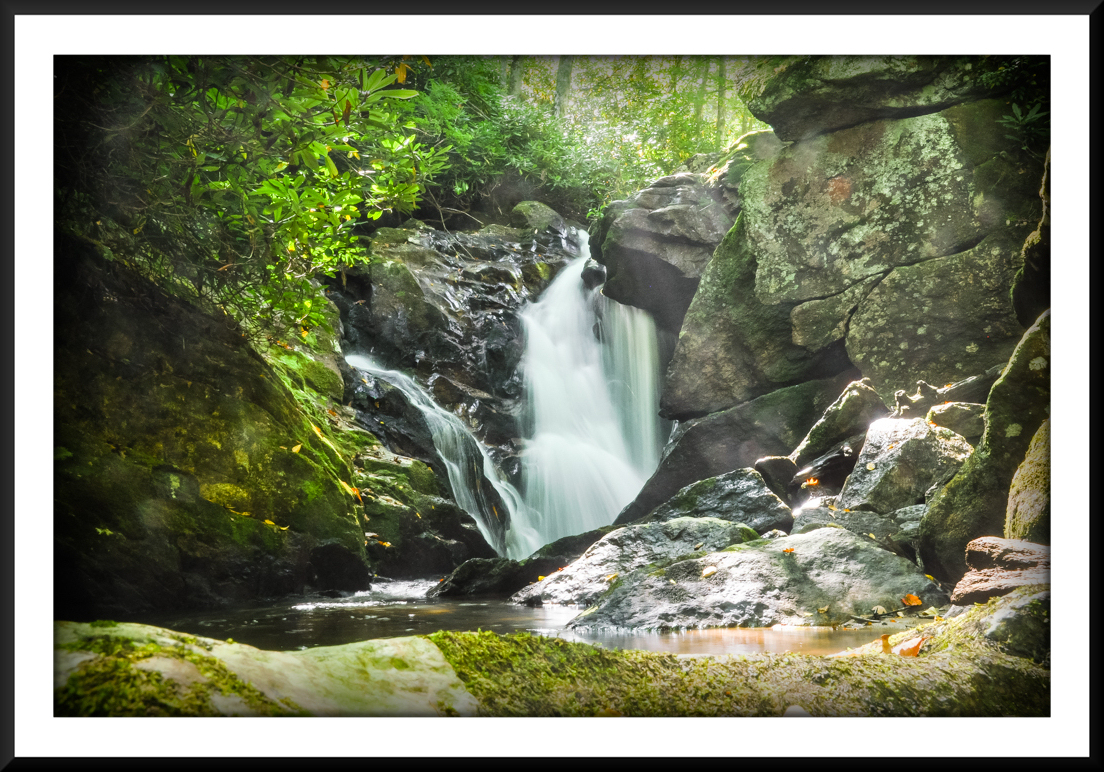
Utilize Natural Framing
Frames keep our attention inside the photograph and will isolate your subject from what’s around it. You can often enhance framing by using natural elements such as trees, rock arches and overhanging foliage on the perimeters of your shot.
Keep it Simple
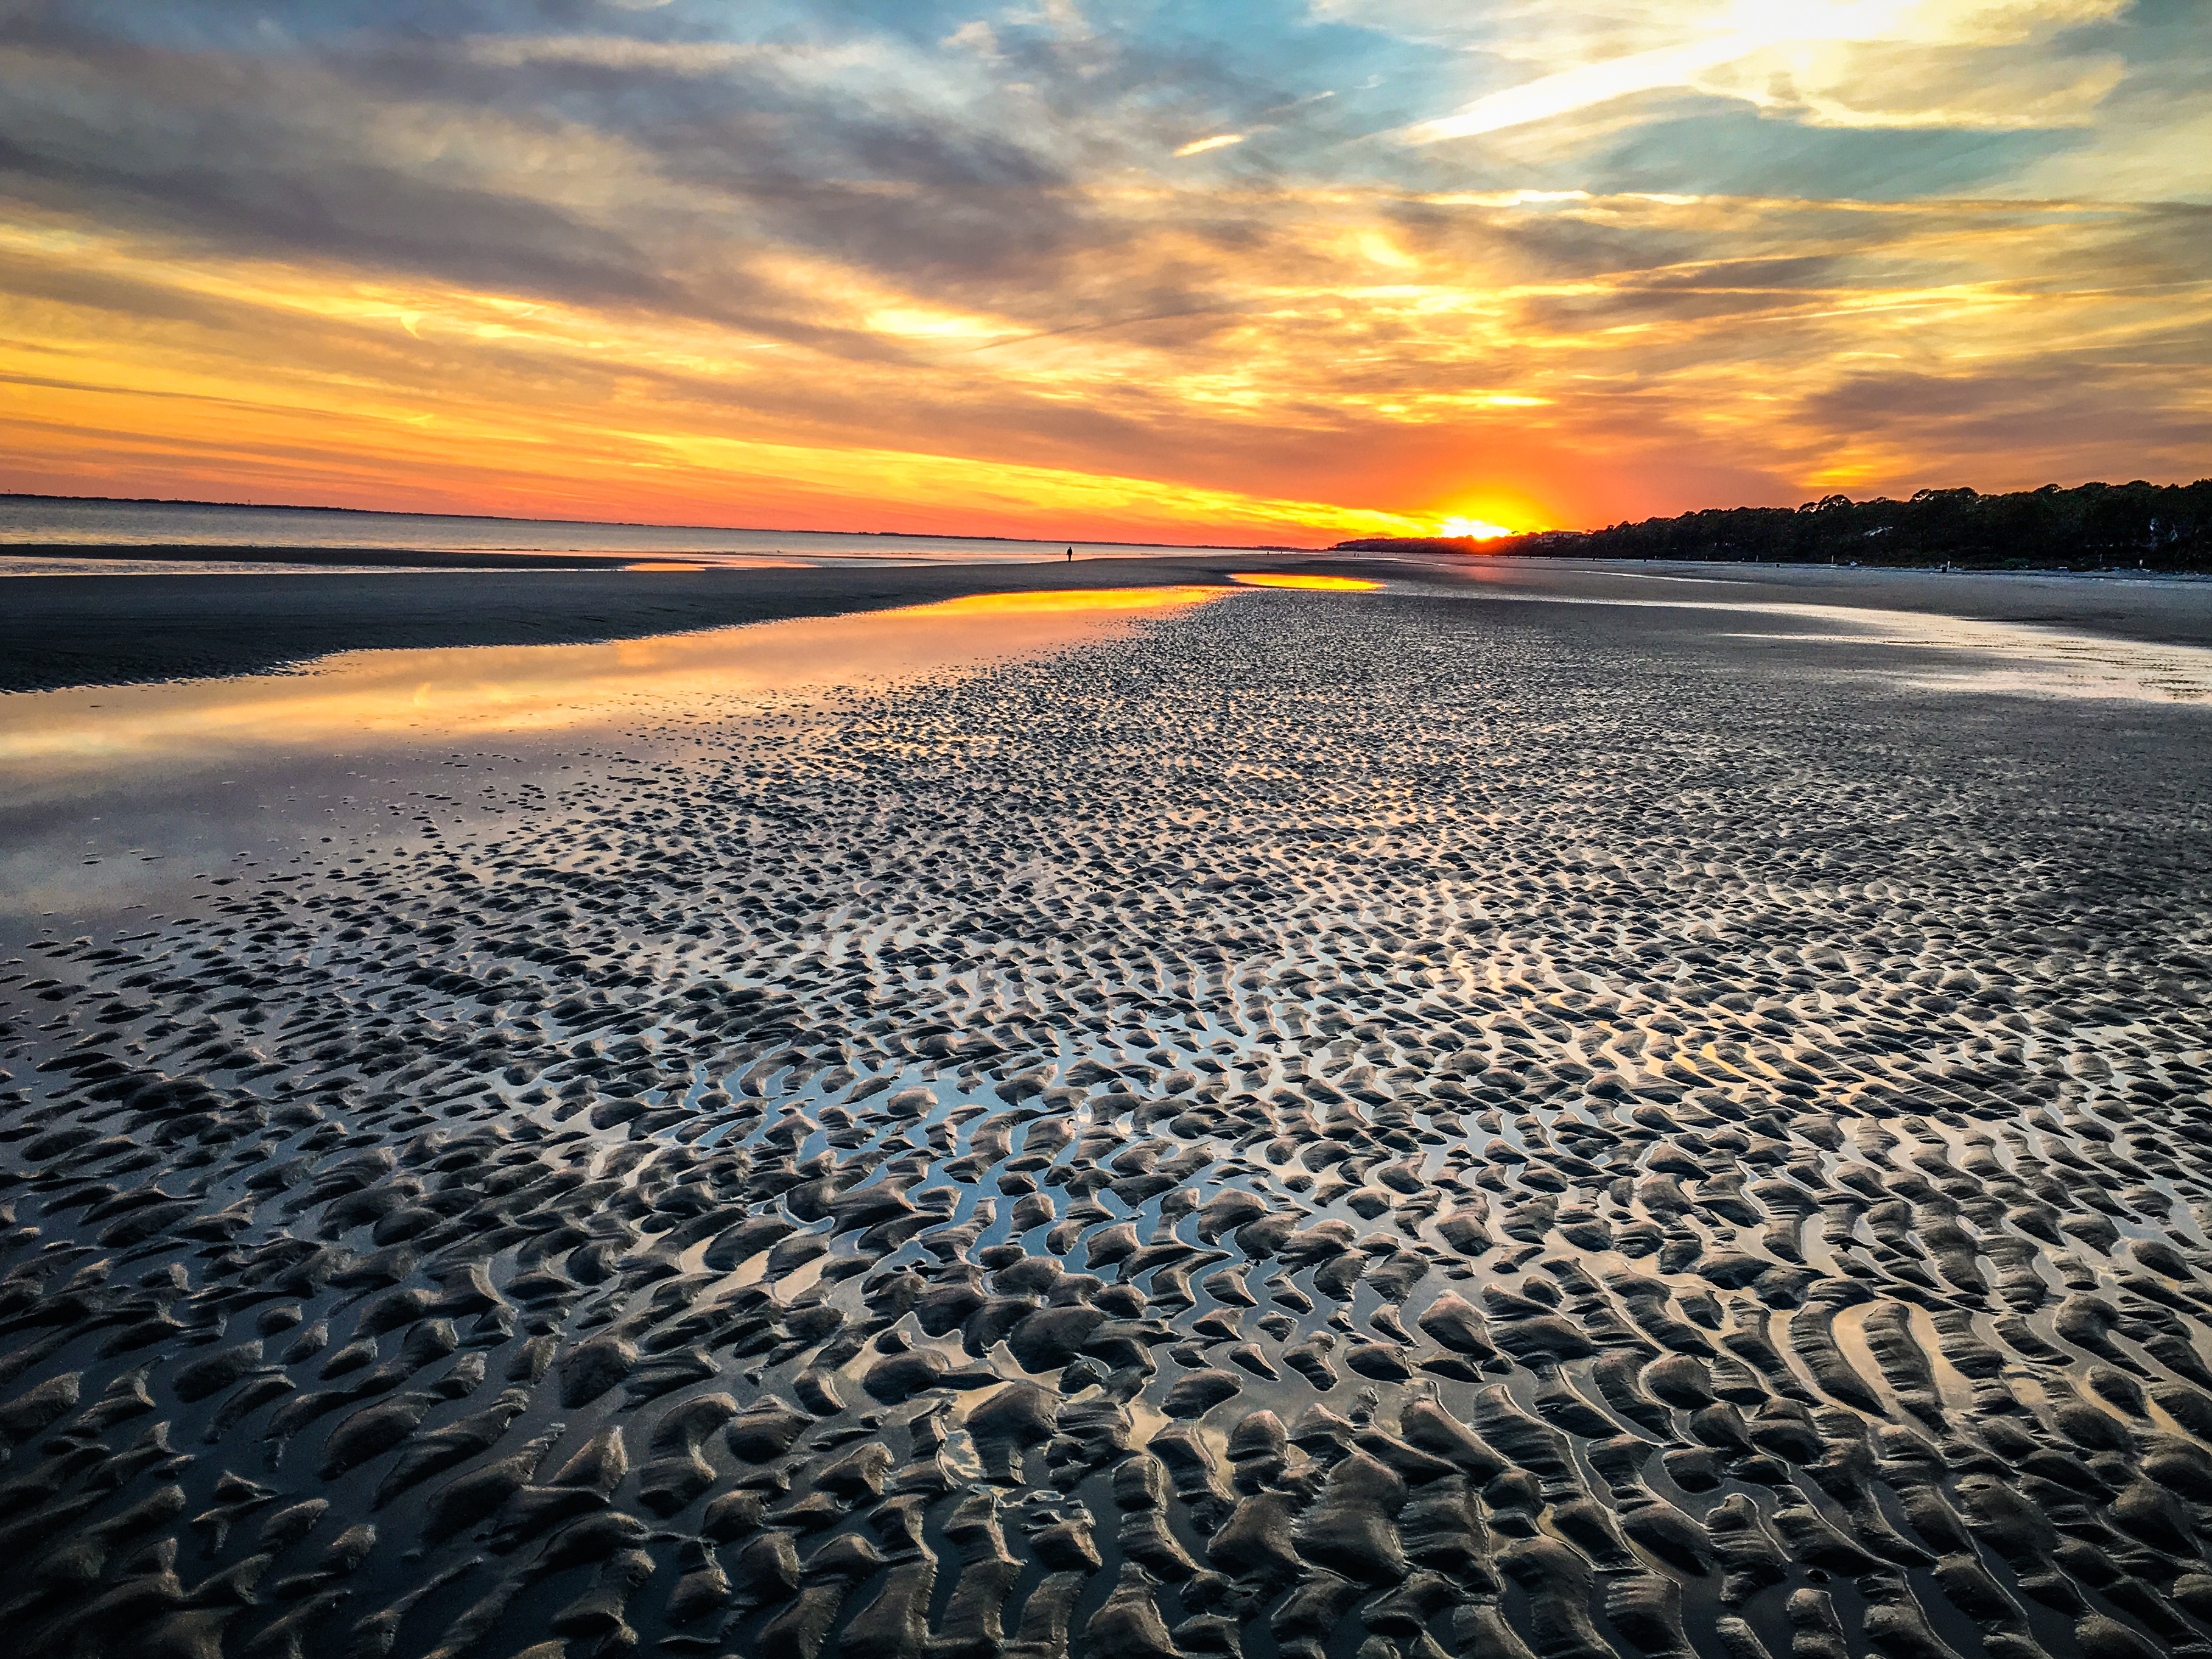
As a beginner, seek out simple landscapes without a lot of clutter. As the complexity of an image grows, the more difficult it becomes to put emphasis on your subject. I find it helpful to zoom in or crop the image down when a scene is overly complex. Always ask yourself what you could leave out of the image, not what you can include. Also search for consistent textures or patterns to enhance and simplify your shot, such as a grassy field, or ripples in the sand along a beach.
Timing is Everything
When possible, shoot during the “golden hours,” which is the hour after sunrise or the hour before sunset. This will provide an image that is less “washed-out,” allowing the colors to be more vibrant, and the image textures to be more defined and clear. Low-light shots will also provide warmth to your photo. Another little trick is to shoot right before or immediately following a storm, when clouds can be at their most dramatic.
These landscape composition tips should be a great way to improve your images, but sometimes those “rules” are meant to be broken. Take lots of shots, experiment with different techniques, and most importantly… create your own style!